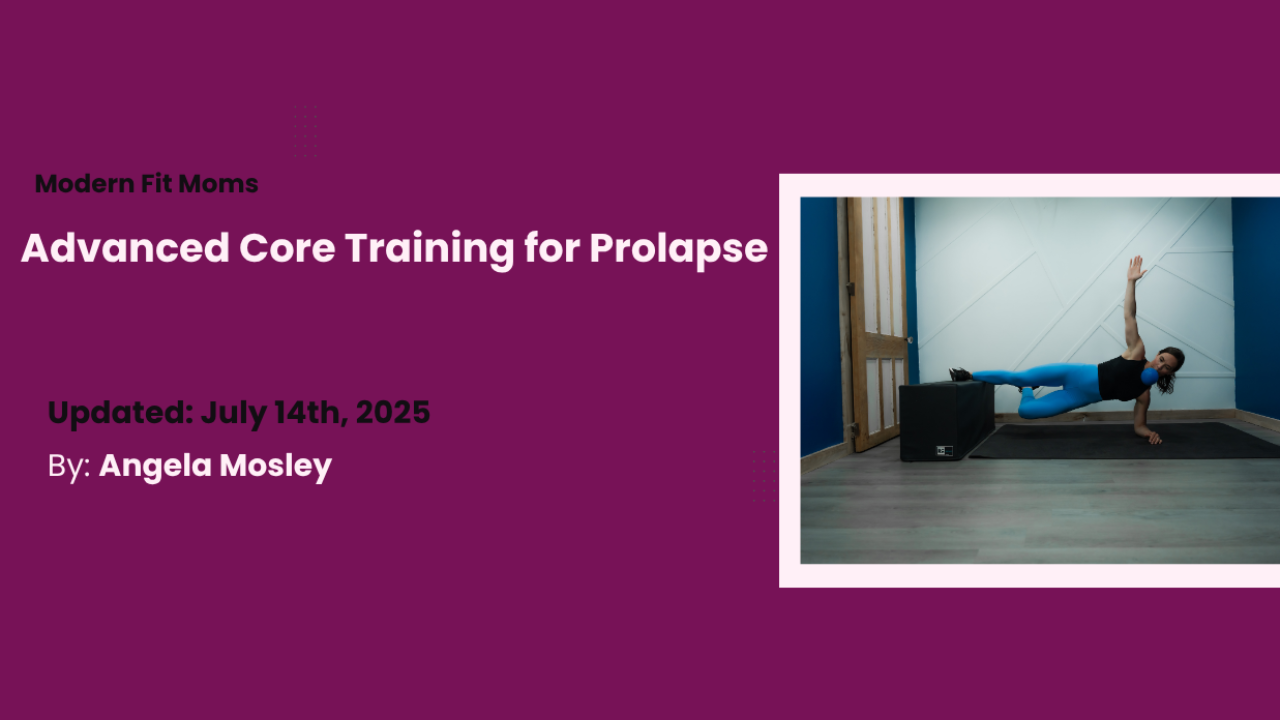
Advanced Core Training for Prolapse
Sep 18, 2025If your core workouts feel too easy or your prolapse symptoms aren’t improving, it might be time to go deeper—literally. Traditional exercises like bird dogs and bridges are great starting points, but when they stop producing results, it’s time to challenge your body in new ways.
One of the most powerful strategies I use with clients is resisted breathing. Just like you overload a squat with more weight to build strength, resisted breathing increases the load on your diaphragm, deep core, and pelvic floor, forcing your system to work harder and more efficiently.
In this post, I’ll walk you through a 4-step resisted breathing progression that can help you level up your core and pelvic floor rehab:
The 4-Step Resisted Breathing Progression:
-
Pursed Lips Breathing
-
Closed Fist Breathing
-
Straw Breathing
-
Balloon Breathing
But before we dive into the exercises, we start with a pressure test using a balloon while lying on your back. This helps you understand how your body currently handles intra-abdominal pressure, which is key in managing prolapse.
Follow along for the complete video!
Step 1: Pursed Lips Breathing
This is the foundation of resisted breathwork. Begin in a supine, hands-and-knees, or side-lying position. Inhale through your nose, then exhale forcefully through pursed lips, like you’re blowing out birthday candles.
This controlled exhale helps activate the deep core while allowing you to feel what your abdominals and pelvic floor are doing. Repeat for several rounds, focusing on a complete exhale to reset intra-abdominal pressure.
Step 2: Closed Fist Breathing
Increase the challenge by exhaling through a loosely closed fist. This creates slightly more resistance than pursed lips, engaging your core even further. Use this method during simple core exercises like dead bugs or bear hovers.
Again, your goal is a long, controlled exhale that flattens your abdominals and avoids bearing down into your pelvic floor.
Step 3: Straw Breathing
Add a straw to further intensify the resistance. The narrower the straw, the greater the challenge. Inhale through your nose and exhale through the straw while maintaining proper core and pelvic floor alignment.
Try this in positions that challenge gravity, like side planks or hands and knees, to increase your awareness and strength in real-world movement patterns.
Step 4: Balloon Breathing (Advanced Only)
This step is not for beginners. Exhaling into a balloon creates the most resistance of all, and can dramatically increase intra-abdominal pressure. Use only if you've already mastered the previous steps without bearing down.
To test readiness:
-
Can you maintain pressure in the balloon while inhaling through your nose?
-
Do your lower abs flatten (not pooch) during the exhale?
-
Do you avoid heaviness or bulging in your pelvic floor?
If the answer is "yes," you may be ready to begin. Start in a basic position with a yoga block between your knees to engage adductors. Then, inhale through your nose and exhale into the balloon in 5-breath sets.
Warning: If you feel pressure pushing down into your pelvic floor during balloon breathing, STOP. Go back to a previous level.
Why This Works
Overloading your breath increases coordination and strength across your entire core system. This isn’t just breathing practice—it’s resistance training for your diaphragm and pelvic floor.
Most women with prolapse developed symptoms because their bodies couldn’t handle pressure effectively. This progression helps retrain that response by simulating real-life intensity safely.
When You Shouldn’t Use Balloon Breathing
If you're early in your postpartum journey, newly diagnosed with prolapse, or unsure whether you're bearing down, balloon breathing may worsen symptoms. Master diaphragmatic breathing and pressure management first.
Start here instead:
Ready to Go Deeper?
This is one of my favorite methods to break through a plateau. If you're ready for a full system to restore pelvic floor strength and eliminate symptoms, here are your next steps:
✅ Grab the FREE Pelvic Floor Blueprint
Your step-by-step guide to start healing prolapse at home
https://www.modernfitmoms.com/pelvicfloorblueprint
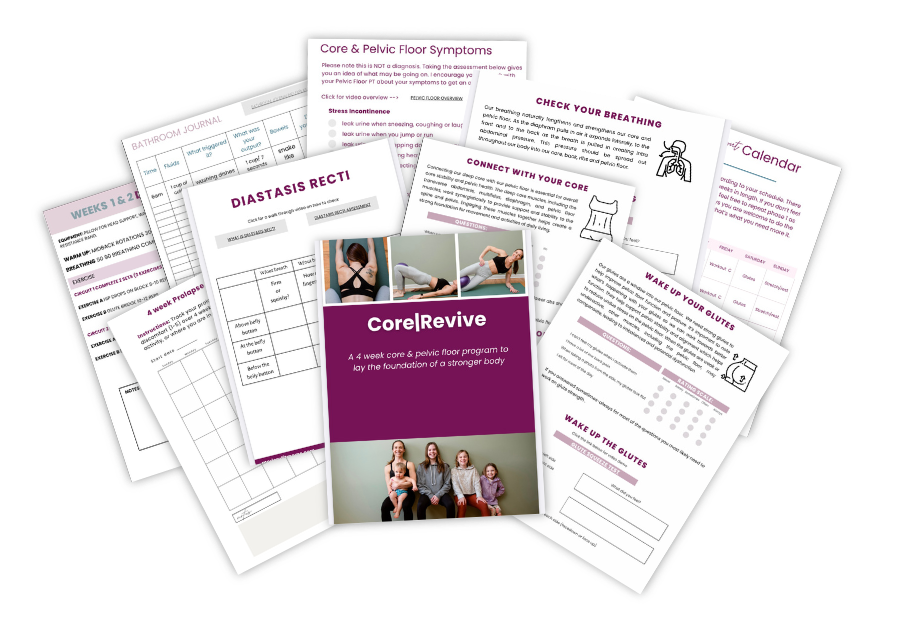
🧘♀️ Join the 4-Week Pelvic Floor Foundations Program
Gentle, guided workouts to reconnect with your core
https://www.modernfitmoms.com/corerevive4weekprogram
🏋️ Join the CoreLIFT Waitlist
The 12-week strength training program designed for moms with prolapse and leaking
https://www.modernfitmoms.com/corelife
✨Get Instant Access to:
✅ 12 weeks of Full Body strength training to heal your core, eliminate leaks, reduce prolapse and build muscle.
✅ Full follow along workouts 35 minutes or less 5 days per week.
✅Exercise video tutorials & workout tracker for reps & sets
✅ Education, targeted exercises & workouts for specific barriers (diastasis recti, rib flare, anterior pelvic tilt etc)
✅ Education from Pelvic Floor Physical therapist on internal massage, running and pessaries
✅ Pelvic-Floor Workouts: Rebuild your strength & confidence with specific pelvic floor workouts (no kegels!)